Foolproof Marble Cake: Get Stunning Swirls & Wow Factor
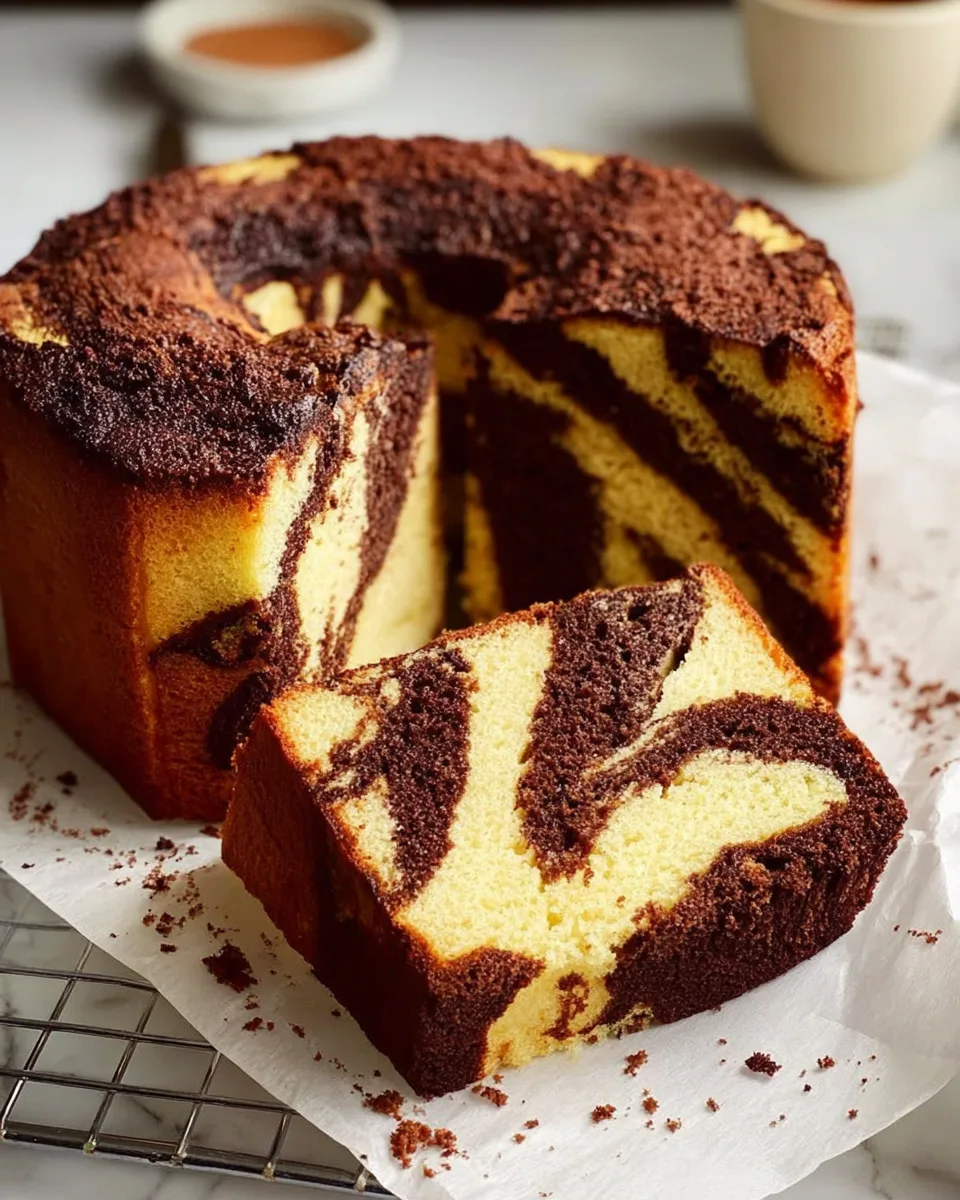
There are few desserts that captivate quite like a perfectly executed marble cake. It's a true culinary chameleon, transforming simple vanilla and chocolate batters into a visually stunning, swirled masterpiece that promises as much delight to the eyes as it does to the palate. Far from being an intimidating bake, achieving those breathtaking patterns and delivering an undeniable "wow factor" is surprisingly straightforward. If you're ready to impress with minimal fuss, you're in the right place to unlock the secrets to a truly foolproof marble cake.
This classic American dessert, with its origins tracing back to the innovative home bakers of the 19th century, was born from a desire to create artistic patterns by gently folding contrasting batters together. The result? A cake where no two slices are ever identical, each revealing its own unique, beautiful landscape of chocolate and vanilla.
The Enduring Allure of Marble Cake: More Than Just a Pretty Face
What makes a marble cake an enduring favorite, beloved across generations and occasions? It's not just its eye-catching appearance, though that's certainly a major part of its charm. The magic truly lies in the harmonious balance of flavors and textures that dance in every single bite. The light, tender crumb of the vanilla batter provides a sweet, comforting base, while the rich, deep notes of the chocolate add complexity and indulgence.
This delightful interplay ensures a satisfying experience, keeping you coming back for more. Whether you're planning an elegant dinner party, celebrating a special occasion, or simply craving a comforting homemade treat that looks professionally made, a well-crafted marble cake delivers impressive results every time. It’s the perfect blend of simplicity and sophistication, proving that you don’t need fancy techniques to achieve spectacular outcomes.
Unlocking the Secret to Perfect Swirls: The Foolproof Technique
The biggest misconception about creating a beautiful marble cake is that it requires an expert hand. On the contrary, the technique for achieving those coveted, stunning swirls is remarkably simple and forgiving. The core idea revolves around creating two distinct batters – a lighter vanilla and a richer chocolate – and then strategically layering and gently swirling them together.
- Prepare Your Batters Separately: Ensure both your vanilla and chocolate batters are made according to your chosen recipe and are smooth and lump-free. Consistency is key here; both batters should be relatively similar in thickness for the best marbling effect.
- Layering with Intention: Begin by spreading about half of your vanilla batter into your prepared cake pan. Then, dollop spoonfuls of the chocolate batter evenly over the vanilla. Follow with the remaining vanilla batter, and then more chocolate dollops. Don't worry about perfection; rustic layering works beautifully.
- The Gentle Swirl: This is where the magic happens. Take a thin knife, skewer, or even a chopstick and gently drag it through the batters in an S-shape or a figure-eight pattern. Perform only a few passes – less is definitely more when it comes to swirling. Over-swirling will combine the colors too much, resulting in a muddy, less distinct pattern. The goal is to create ribbons of color, not to fully mix them.
That's it! The beauty of this method is its inherent unpredictability. Each gentle swirl creates a unique design, meaning every cake will be a one-of-a-kind masterpiece. For a complete step-by-step guide and precise measurements that make achieving these perfect swirls a breeze, check out our Easy Marble Cake Recipe: Perfect Swirls for Beginners.
Essential Ingredients for a Masterpiece (and Why They Matter)
While the swirling technique is central, the quality and preparation of your ingredients are equally vital for a moist, flavorful marble cake. Using the right components ensures your cake has the tender crumb, rich flavor, and distinct patterns you desire.
- For the Vanilla Batter:
- All-Purpose Flour (sifted): Sifting removes lumps and aerates the flour, contributing to a lighter, more tender crumb.
- Baking Powder & Salt: The leavening agent for rise and salt to balance sweetness and enhance flavor.
- Unsalted Butter (room temperature): Softened butter creams beautifully with sugar, incorporating air for a light texture.
- Granulated Sugar: Sweetness and contributes to moisture and tenderness.
- Large Eggs (room temperature): Room temperature eggs emulsify better with the butter and sugar, creating a smoother, more stable batter.
- Pure Vanilla Extract: Essential for that classic, aromatic vanilla flavor. Don't skimp on quality!
- Whole Milk (room temperature): Adds moisture and richness. Room temperature helps maintain batter consistency.
- For the Chocolate Batter:
- Unsweetened Cocoa Powder (sifted): Sifting prevents clumps and ensures even chocolate distribution.
- Hot Water: This is a secret weapon! Hot water "blooms" the cocoa powder, intensifying its chocolate flavor and color, resulting in a much richer chocolate taste.
- Instant Coffee Granules (optional but recommended): Coffee doesn't make the cake taste like coffee, but it significantly deepens and enhances the chocolate flavor, making it incredibly rich and complex.
- Melted Unsalted Butter: Adds richness and helps thin the chocolate mixture slightly to match the vanilla batter's consistency.
- Granulated Sugar & Vanilla Extract: For additional sweetness and flavor balance in the chocolate portion.
Paying attention to these details, especially temperature and sifting, will make a significant difference in the final outcome of your marble cake. To delve deeper into achieving that perfect moist texture and rich flavor profile, explore our guide on Classic Marble Cake: Achieve Moist Texture & Rich Flavor.
Tools of the Trade: Equipping Your Kitchen for Success
While you don't need a professional kitchen, having the right basic tools can elevate your marble cake from good to exceptional. These ensure accuracy, efficiency, and the perfect texture.
- Mixing Bowls (at least three): Essential for keeping your dry ingredients, vanilla batter, and chocolate mixture separate before combining. This prevents cross-contamination of flavors and ensures each component is perfectly prepared.
- Electric Mixer or Stand Mixer: While possible by hand, a mixer is invaluable for creaming butter and sugar to the proper light and fluffy consistency. This incorporates air, which is crucial for a tender, moist crumb.
- Measuring Cups and Spoons: Accuracy is paramount in baking. Precise measurements guarantee the correct ingredient ratios, directly impacting the cake's taste, texture, and rise. Avoid dense, dry, or overly sweet results by measuring carefully.
- Cake Pan(s): Your choice impacts presentation.
- Bundt Pan: Creates a beautiful, decorative shape that often requires less frosting.
- Loaf Pan: Perfect for a smaller, more casual marble loaf cake, ideal for slicing and sharing.
- Round Cake Pans: For traditional layered cakes, offering a classic presentation.
Regardless of the pan type, always grease and flour it thoroughly to prevent sticking.
- Sifter or Fine-Mesh Sieve: For sifting flour and cocoa powder, ensuring a smooth, lump-free batter.
- Rubber Spatula: For scraping bowls and gently folding ingredients, preventing overmixing.
Expert Tips for an Unforgettable Marble Cake
- Don't Overmix Your Batters: Whether it's the individual batters or the final swirl, overmixing develops the gluten in the flour, leading to a tough, dry cake. Mix just until combined.
- All Ingredients at Room Temperature: This cannot be stressed enough. Room temperature butter, eggs, and milk emulsify together much better, creating a smooth, cohesive batter that bakes evenly.
- Bloom Your Cocoa Powder: Mixing cocoa with hot water (and coffee, if using) before adding it to the rest of the chocolate batter dramatically enhances its flavor and color. Don't skip this step!
- Patience with the Swirl: Resist the urge to create intricate patterns or to swirl too much. A few gentle passes are all you need for distinct, beautiful marbling. Trust the process – the oven will do the rest.
- Test for Doneness: Insert a wooden skewer or toothpick into the center of the cake. It should come out with moist crumbs, not wet batter. If it comes out completely clean, your cake might be slightly overbaked.
- Cool Properly: Allow the cake to cool in the pan on a wire rack for 10-15 minutes before inverting it onto the rack to cool completely. This prevents it from breaking and ensures it sets properly.
- Get Creative with Glazes: While delicious on its own, a simple vanilla glaze, a chocolate ganache drizzle, or even a dusting of powdered sugar can add an extra touch of elegance and flavor.
Making a foolproof marble cake is a wonderfully rewarding baking experience. It’s a testament to how simple techniques, combined with thoughtful ingredient preparation, can yield truly stunning results. With its perfect blend of flavors and captivating visuals, this cake is guaranteed to impress your guests and satisfy any sweet craving. So, gather your ingredients, follow these tips, and prepare to unveil your own beautiful, swirled masterpiece!
