The classic marble cake stands as a testament to the fact that beauty and deliciousness can coexist in perfect harmony. With its mesmerizing swirls of contrasting light and dark batter, it's a dessert that captivates both the eyes and the palate. This isn't just a pretty face; a truly well-made marble cake promises a moist texture and rich flavor that keeps you coming back for slice after delightful slice. Dating back to 19th-century American kitchens, this iconic treat has charmed generations with its simple elegance and irresistible taste, proving that some classics truly never go out of style.
Far from being an intimidating bake, creating a stunning marble cake is surprisingly accessible, even for novice bakers. The magic lies in the gentle art of combining two distinct batters – typically a light, buttery vanilla and a deep, decadent chocolate – to form those signature artistic patterns. But beyond the visual appeal, the true mastery of this dessert lies in achieving that delicate balance: a tender, airy crumb infused with the comforting sweetness of vanilla and the profound depth of chocolate. This guide will take you through the secrets to perfecting your own classic marble cake, ensuring every bite is as rich and moist as it is beautiful.
The Anatomy of a Perfect Marble Cake: Flavor & Texture
What elevates a good marble cake to a truly great one? It boils down to two critical elements: the harmony of its flavors and the luxuriousness of its texture. The interplay between vanilla and chocolate isnadouble-act where each component enhances the other without overpowering it. The vanilla batter provides a sweet, comforting foundation and contributes significantly to the cake's tender crumb, acting as a canvas for the richer notes.
The chocolate batter, on the other hand, introduces a sophisticated depth. By incorporating ingredients like unsweetened cocoa powder and often a touch of instant coffee granules, the chocolate flavor becomes intensely rich and complex, complementing the vanilla without tasting overly sweet. The coffee, though optional, is a secret weapon; it doesn't make the cake taste like coffee but rather amplifies the chocolate's natural bitterness and dark notes, creating a more pronounced and satisfying chocolate experience.
When it comes to texture, the goal is always a moist crumb that's also light and tender. A dry or dense marble cake is a disappointment, no matter how beautiful its swirls. Achieving this perfect consistency relies heavily on careful ingredient ratios, proper mixing techniques, and precise baking temperatures. Factors such as using room temperature ingredients, correctly creaming butter and sugar, and avoiding overmixing are paramount to incorporating enough air and developing a stable, uniform batter that bakes up beautifully.
Essential Ingredients for a Moist & Flavorful Marble Cake
The journey to a sublime marble cake begins with understanding the role of each ingredient. Quality and preparation matter significantly. While a specific recipe might vary in exact quantities, the types of ingredients and their functions remain consistent:
- Flour: All-purpose flour, preferably sifted, provides the cake's structure. Sifting helps aerate the flour, preventing lumps and contributing to a lighter, more tender crumb.
- Leavening Agents: Baking powder is crucial for giving the cake its lift and airy texture. Too little, and your cake will be dense; too much, and it can taste metallic.
- Fats: Unsalted butter (softened to room temperature) contributes richness, flavor, and moisture. Its creaming with sugar is a vital step for aeration. A little vegetable oil in the vanilla batter can also enhance moisture and tenderness without adding extra richness.
- Sweeteners: Granulated sugar not only sweetens but also helps tenderize the cake and retains moisture.
- Eggs: Large eggs, at room temperature, act as an emulsifier, binding ingredients together and contributing to the cake's structure, richness, and moisture.
- Liquids: Whole milk, also at room temperature, adds moisture and helps create a smooth batter.
- Flavorings: Pure vanilla extract is essential for the vanilla batter, providing its signature aroma and taste. For the chocolate batter, unsweetened cocoa powder is key, and as mentioned, instant coffee granules deepen the chocolate's complexity. Hot water is often used to bloom the cocoa powder, intensifying its flavor before mixing.
Pro Tip: Always ensure your butter, eggs, and milk are at room temperature. This allows them to emulsify better, creating a smoother, more stable batter that traps air more effectively, leading to a finer, more even crumb and a moister cake.
Tools of the Trade: Equipping Your Kitchen for Marble Cake Success
While the technique for making a marble cake is surprisingly simple, having the right equipment can make all the difference between a good cake and an exceptional one. These tools ensure accuracy, efficiency, and ultimately, that coveted moist texture and stunning appearance.
- Mixing Bowls: You'll need at least three medium to large mixing bowls – one for your vanilla batter, one for your chocolate mixture, and potentially one for dry ingredients. Keeping them separate is key to maintaining distinct flavors and colors before swirling.
- Electric Mixer (Handheld or Stand): This is arguably the most critical tool. An electric mixer is indispensable for creaming butter and sugar to the proper light and fluffy consistency. This process incorporates air into the mixture, which is fundamental for a tender crumb. It also ensures the batter is well-emulsified and smooth, preventing dense results.
- Measuring Cups and Spoons: Baking is a science, and precision is paramount. Accurate measurements guarantee the correct ingredient ratios, directly impacting the final taste, texture, and rise of your marble cake. Eyeballing ingredients can lead to dry, dense, or overly sweet outcomes.
- Rubber Spatulas: Essential for scraping down the sides of bowls, folding in ingredients gently, and ensuring all batter is incorporated without overmixing.
- Cake Pans: Your choice of pan impacts presentation. A Bundt pan offers an elegant, decorative shape; a loaf pan provides a more rustic, sliceable option; and round cake pans are classic for layered cakes or simple round presentations. Whichever you choose, ensure it's properly greased and floured to prevent sticking.
- Sifter or Fine-Mesh Sieve: For sifting flour and cocoa powder. This step prevents lumps and aerates the dry ingredients, contributing to a lighter, more even texture in your final cake.
Investing in these basic kitchen tools will not only simplify your marble cake baking but also improve the consistency and quality of all your baking endeavors. For those aiming for truly impressive results, exploring a Foolproof Marble Cake: Get Stunning Swirls & Wow Factor guide can further elevate your baking techniques.
Achieving the Signature Swirl and Baking to Perfection
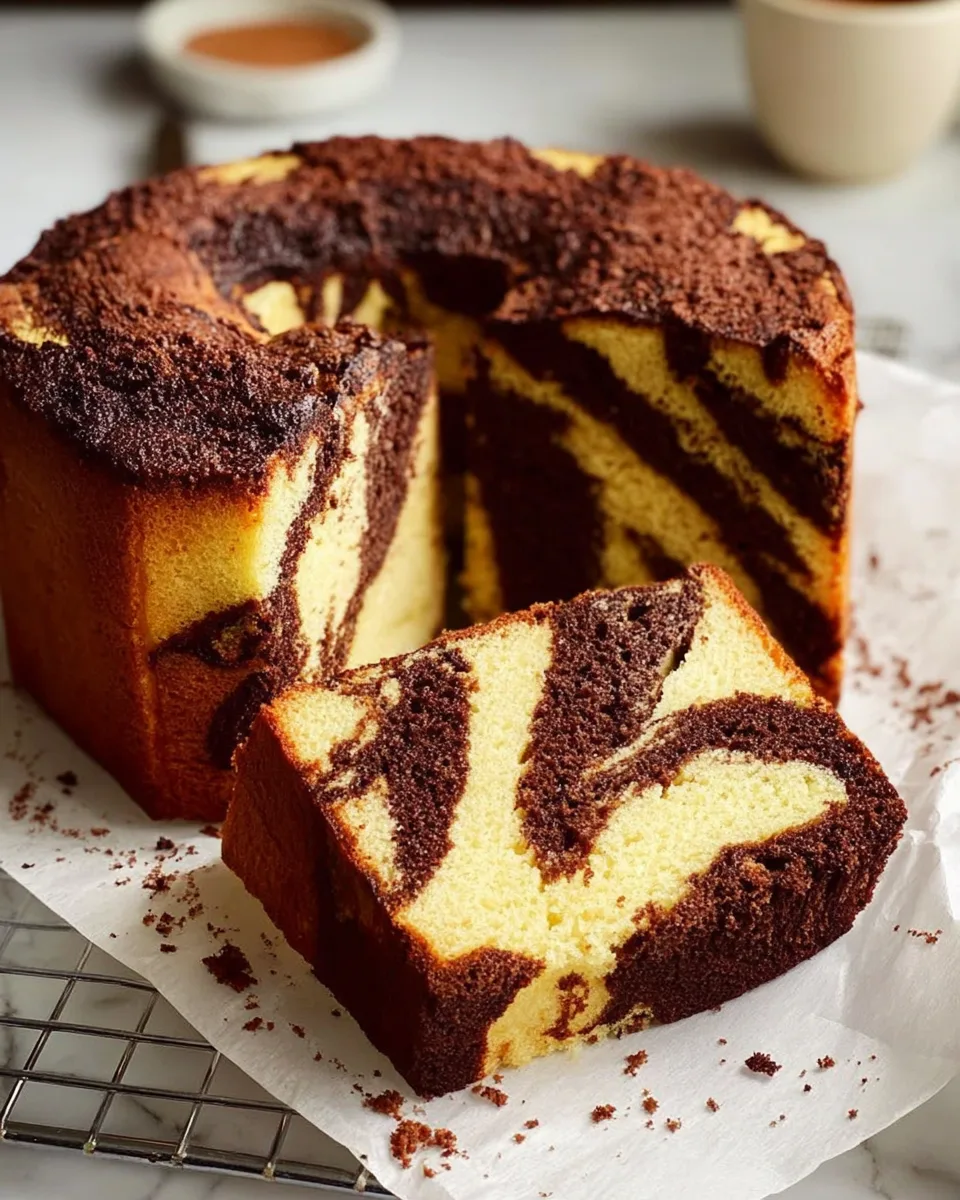
Once your vanilla and chocolate batters are prepared – each smooth, creamy, and ready – the magic of the swirl begins. This is where artistic expression meets culinary technique. To create those beautiful patterns, alternate dollops of vanilla and chocolate batter into your prepared cake pan. You might start with a layer of vanilla, then a layer of chocolate, and continue alternating until all batter is used. Resist the urge to dump the batters in randomly; thoughtful placement will yield more defined swirls.
With the batters in the pan, take a butter knife or a skewer and gently swirl through the batters a few times. The key word here is gently. Over-swirling will blend the colors too much, resulting in a muddy, less defined pattern. A few deliberate passes are all you need to create those distinct marbled lines. Remember, each slice will reveal a unique pattern, making every piece a delightful surprise.
Baking time and temperature are also critical for achieving that desirable moist texture. Most marble cakes bake at a moderate temperature (around 350°F or 175°C) to ensure even cooking without drying out the edges before the center is done. Use the toothpick test: insert a toothpick into the center of the cake; if it comes out with moist crumbs but no wet batter, your cake is done. Overbaking is the quickest way to a dry cake, so keep a close eye on it, especially towards the end of the recommended baking time. Allow the cake to cool in the pan for a bit before transferring it to a wire rack to cool completely. This prevents it from breaking and helps retain moisture.
Conclusion: The Timeless Appeal of a Classic Marble Cake
The classic marble cake is more than just a dessert; it's an experience. From its stunning visual appeal with unique swirls in every slice to the perfect marriage of rich chocolate and comforting vanilla flavors, it truly offers something for everyone. Mastering the art of a moist texture and rich flavor involves attention to detail in ingredient selection, preparation, and baking technique, but the results are undeniably rewarding. Whether you're a seasoned baker or just starting your culinary journey, the satisfaction of presenting a beautifully marbled, incredibly delicious cake is unmatched. So go ahead, embrace the joy of baking this timeless classic, and delight in the appreciative smiles it brings to every table.
